I found this over at Make and Takes.
Guest Post by Amy of Mod Podge Rocks
Hello! I am very happy to be with you today sharing a Halloween project after my own heart. You see, I am a Mod Podge lover, and I try to incorporate it into most things that I do. This can be hard with everyday tasks such as cooking, dog walking and cleaning. . . but I manage to bring Mod Podge into a lot of projects! One of those projects is this No-Sew Boo! banner I’ve created using Fabric Mod Podge. I only had to purchase the spiders, fabric and felt – everything else I had on hand – so this project cost me $6. The best part besides the cost? No sewing involved! If you aren’t a seamstress, or even if you are, give this a try. Mod Podging is much easier than you think.
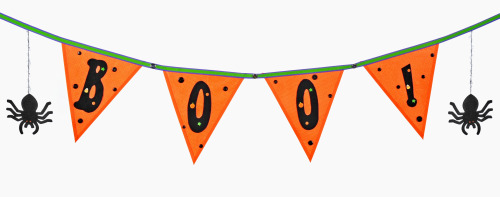
Supplies for No-Sew Halloween Banner:
- 1/2 yard orange polka dot fabric
- Fabric Mod Podge
- Felt, black – 1 piece
- Halloween brads
- Black buttons – an assortment
- Ribbons – 3 rolls of Halloween colors
- Felt Spiders (I got these for $.99 from Hobby Lobby)
- Yarn – 2 pieces of 12” to hang spiders
- Rhinestones – 4 for spider eyes
- Shoebox Lid
- Silver Sharpie (or something to draw on black felt)
- Craft Knife and Mat
- Craft Glue
- Ruler
- Pencil
- Scissors
- Flat Paint Brush
Grab your old shoebox lid, a ruler, a pencil (or pen) and a craft knife. You are going to first cut the template for your banner pieces. Let me tell you why the letter is there. I had wood letters to spell “Boo!” and I wanted to cut the same exact size letter out of felt for my banner. This letter was placed on the box for size purposes. If you don’t have wood letters, that is okay – you don’t need them. Simply draw out (or print from computer) the letter size you would like to use on a piece of paper, and that can be your reference.
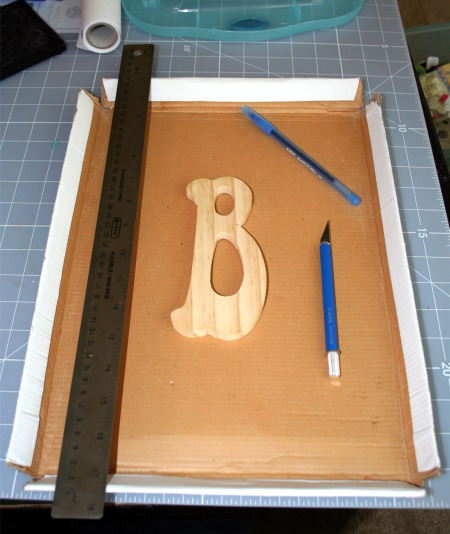
Cut off all four sides of the box using your ruler and craft knife. You now have just a flat piece of cardboard. I picked the mid-point on my box lid and marked it, because I wanted the tip of my pennant to be right there. I chose 12” to be the side length of my pennant and marked it on the top on both sides. Cut the sides of the pennant. Measure one side, cut with a craft knife. Repeat on the other side.
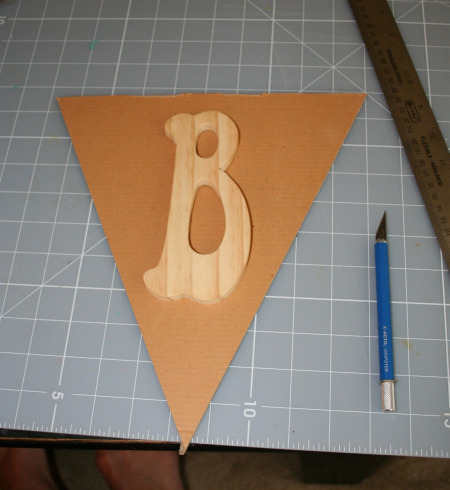
Here’s the finished pennant template – do you see how my proposed letter size fits so nicely? Set the template aside.
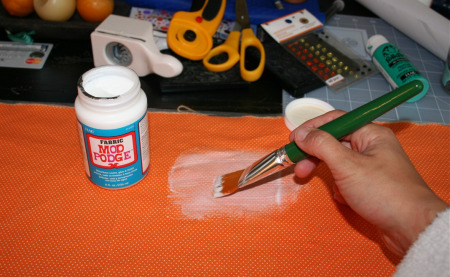
You will first want to prepare the fabric before painting. To do this, wash and dry the fabric (do not use fabric softener). Iron and then lay out on a covered work surface. Wax paper is preferable for covering your table. Using a brush, paint a light coat of Fabric Mod Podge onto your fabric. Allow to dry. This will allow you to cut the fabric like paper without frayed edges.
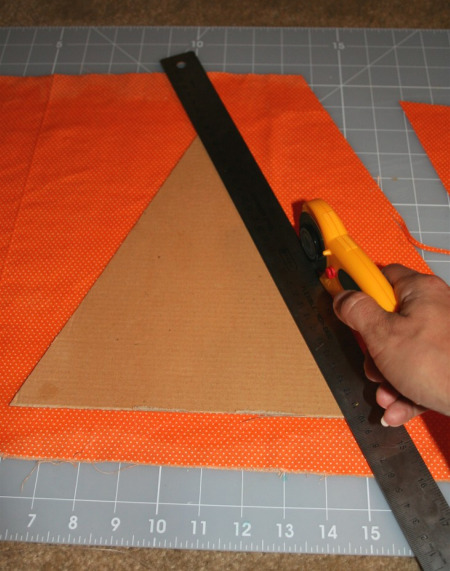
This part I actually had a lot of fun with. I used my rotary cutter and the template to cut eight pennant pieces (you will be gluing two together four times). If you don’t have a rotary cutter, just use the craft knife you used before. I also placed the ruler on the side of my template so I didn’t rotary cut the template into shreds (yes, I have done that before).
Eight pieces are about to become four! Grab your Fabric Mod Podge again and thoroughly cover the BACK SIDE of one of the pennant pieces with Podge. Get the corners well.

Grab another pennant piece and place BACK SIDE down onto the top of the wet Mod Podge. Either use a brayer (pictured above) or your fingers to thoroughly smooth the two fabric pieces together. It’s okay if Mod Podge comes out the sides – it probably will and you can just wipe it away. Repeat three more times and then set the four pennants aside to dry.
When the pennants are dry, grab them again to cut the ribbon. I used orange ribbon to line my orange pennants. I laid the ribbon out down one side of the pennant. I trimmed the ribbon at a diagonal on the bottom.
Put a thin line of craft glue down the side of the pennant and lay the ribbon down – smooth. You are going to repeat on the other side of the pennant, overlapping at the bottom point. Do this for all four pennants. Allow the glue to dry.
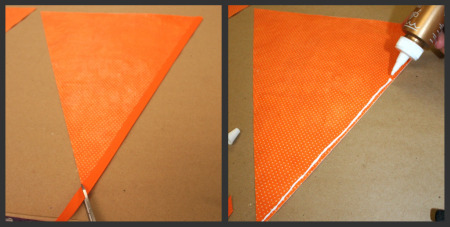
While the glue was drying, I grabbed two other ribbon colors for the top hanger. My purple ribbon is 3/4” and my green ribbon,1/2”. I cut the same length of ribbon for both and then applied a thin bead of craft glue to the purple ribbon. I did this a few sections at a time, smoothing the green ribbon onto the purple ribbon.
While the ribbon was drying, I decided to cut my letters out of black felt. I traced my letters onto the back of the black felt with the silver Sharpie so I could see the shape. I’m not sure why I ended up with reptile black felt, but luckily the opposite side was normal. Remember, if you don’t have wood letters, you might not need to do this. You can freehand draw OR you can print out something from your computer. If you print out something from your computer, you won’t need to trace anything. Simply tape the letters to the felt and cut out.
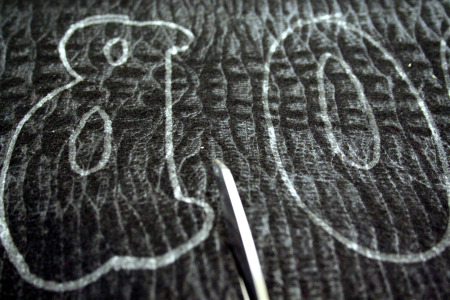
If you traced, don’t forget to do the letter backwards!! Even if you don’t have weird reptile felt like I did, if you do the letters backwards you won’t have to worry about pen marks showing up on the right side. Cut the letters out.
Look at my banner and how very nicely it is laid out! It’s ready to be glued. Please ignore the skull in the background (that is for another project!).
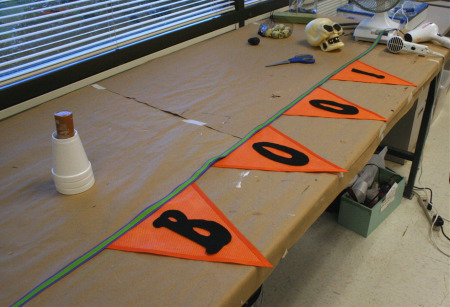
Time to glue the pennants onto the top ribbon to make the finished banner. Apply craft glue to the top of each pennant and then flip the ribbon back over on top – smooth down and let dry. Don’t move the banner at this time. Glue the letters down now. You are in the home stretch!
So – now it’s time for you to make some decisions on how to embellish your banner! I used Halloween brads, buttons and two spiders to accent my banner. What do YOU want to do? Stickers? Flowers in Halloween colors? You are welcome to try anything you want – my banner is just a suggestion. I encourage you to get wild. Halloween is one of those holidays!
 Thank you for your time, and thanks so much to Marie for featuring me. Please visit me any time at Mod Podge Rocks for project ideas and decoupage advice. I’ll be happy to help. See you soon!
Share and Bookmark:


"








No comments:
Post a Comment